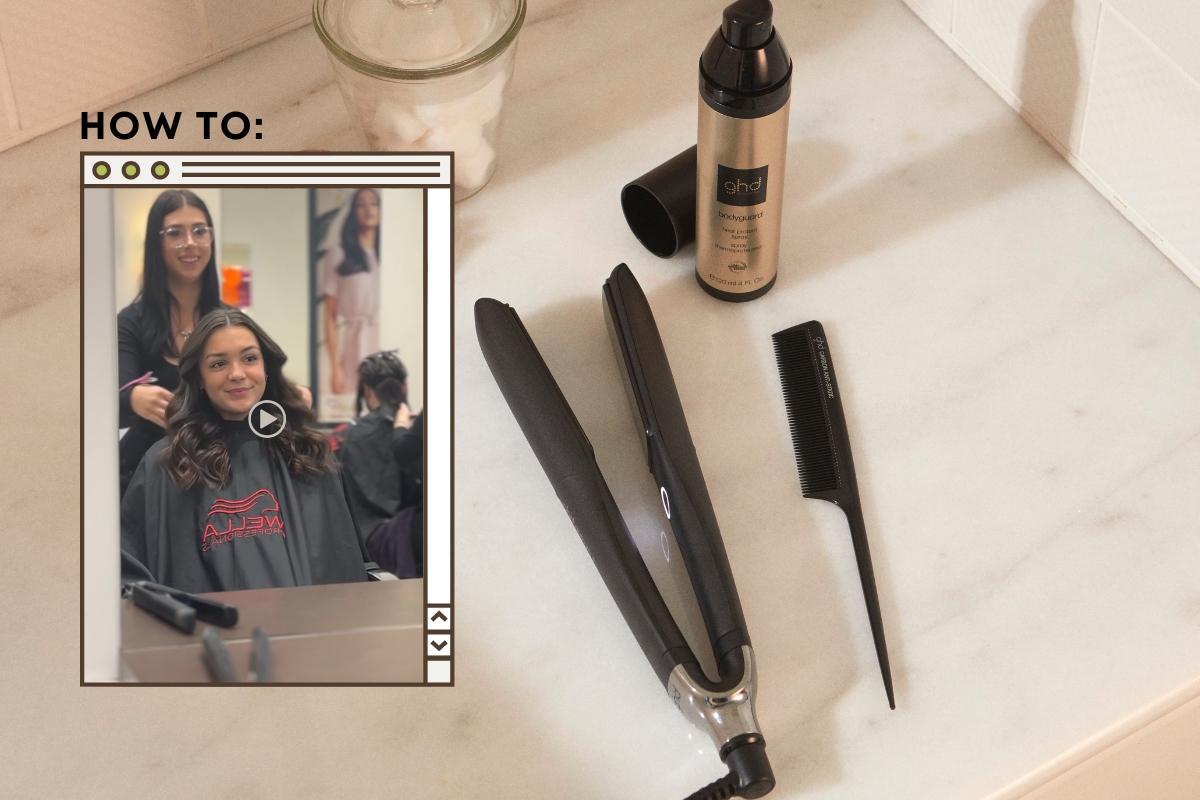
How to Curl Hair with a Hair Straightener (Step-by-Step Guide)
If you’re struggling to wrap your head around how to curl hair with a hair straightener at home – don’t stress, you’re not alone! Although it seems daunting, with the right technique and tools you can create beautiful salon-worthy curls and waves yourself with just one versatile tool.
What You’ll Need
Before you begin, make sure you have everything ready:
- Hair straightener – we used the ghd Platinum+ Black Hair Straightener
- Heat protectant spray – we used ghd Bodyguard Heat Spray (for All Hair Types)
- Detangling comb
- Sectioning clips
- Hairspray – we used the Color Wow Cult Favorite Hairspray
- Lightweight finishing oil – we used Wella Oil Reflections Light Reflective Oil

Choosing the Right Hair Straightener
Not all straighteners are created equal when it comes to curling. To get smooth, defined curls:
- Use a straightener with rounded edges. Flat irons with curved barrels glide easily through the hair and help shape the curl.
- Opt for ceramic or tourmaline plates for even heat distribution and minimal damage.
We LOVE ghd and Cloud Nine straighteners for curling – both brands offer high-quality tools with rounded barrels that make it easy to create long-lasting waves and curls.
Step-by-Step:
Step 1: Prep Your Hair
Start with dry hair. Apply a generous mist of Heat Protection Spray throughout your hair, focusing on mid-lengths to ends. This protects your strands from heat damage and gives you a smoother finish. Comb through to distribute evenly and detangle.
Step 2: Section Your Hair
Divide your hair into manageable sections using clips. Typically, working in horizontal layers from the bottom up gives the best results.
Step 3: Curl with the Straightener
Take a 1-inch section of hair. Clamp the straightener near the root, twist it 180 degrees upwards away from you, and slowly glide it down the strand in one smooth motion, completing a 360-degree curl. The slower you go, the tighter the curl.
Coil the hot curl with your finger to help shape it as it sets.
Repeat this technique throughout your head, alternating curl direction every few sections for a more natural, voluminous look.
Step 4: Let Curls Cool
Once you’ve curled your entire head, let your curls cool completely before touching them. This helps set the style and ensures they last longer.
The Finishing Touches
Set with Hairspray
Spritz your curls lightly with a good hairspray (we used the Color Wow Cult Favorite Hairspray) to lock in shape without stiffness. It gives flexible hold and keeps frizz controlled.
Rake and Smooth with Oil
For that soft, tousled finish, gently rake through the curls with your fingers. Then, apply 1–2 pumps of finishing oil (we used Wella Oil Reflections Light Reflective Oil) to your hands and smooth over the ends. This adds shine, reduces flyaways, and separates the curls beautifully.
Tips & Tricks
- Keep practising! It might feel strange at first, but your technique will get smoother as you go.
- Don’t use too much product before curling, it’s easier on clean, dry strands.
- If your curls tend to drop quickly, try pinning them in place and setting them with hairspray as you go.
Super simple, right? With the right straightener, you can create effortless curls, waves, and sleek styles all in one. Find your perfect hair straightener today at Synergy Hair.
Shop Hair StraightenersShop the Look
-
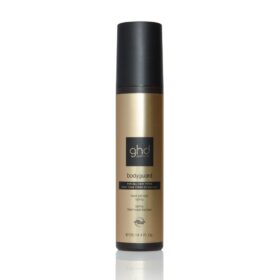
Ghd Bodyguard Heat Spray (for All Hair) 120ml
NZD $50.00 Add to cart -
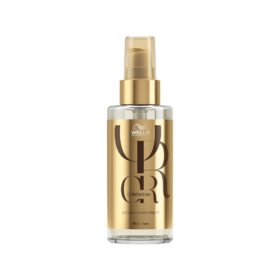
Wella Oil Reflections Luminous Smoothening Oil 100ml
NZD $54.20 Read moreJoin Waitlist -
Color Wow Cult Favorite Hairspray 295ml
NZD $54.95 Add to cart -

Nylon/Aluminium Sectioning Clips 2pk
NZD $7.00 Add to cart -

Ghd The Comb Out – Detangling Comb
NZD $32.00 Add to cart -
Ghd Platinum+ Black Hair Straightener
NZD $460.00 Add to cart